
DIY LEVEL: BEGINNER
If you don’t already love the look of stacked books, prepare to swoon over them for the first time!
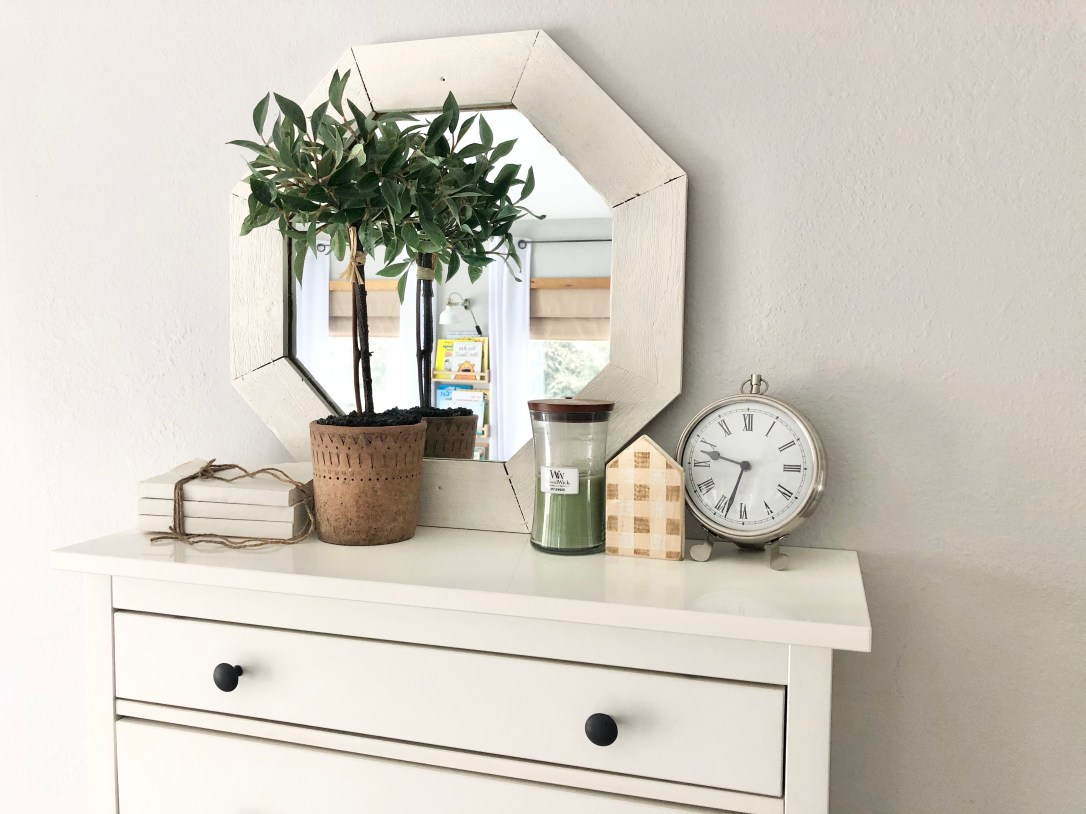
This little set is an adorable, simple DIY that can shine on its own or be topped with a candle, small plant or little house {or other small decor piece} resting on top of it.
It’s easy to make and what I’d consider a beginner level DIY project.
Mess Disclaimer: Before we begin, please excuse any sawdust you see on our table in the pictures as I was juggling more than one project at a time this weekend. Curious to see what else I was working on?! Visit my Instagram @thelogfarmhouse and tap on the highlight titled “Kitchen Before/After”}.
Okay, now let’s jump right in!
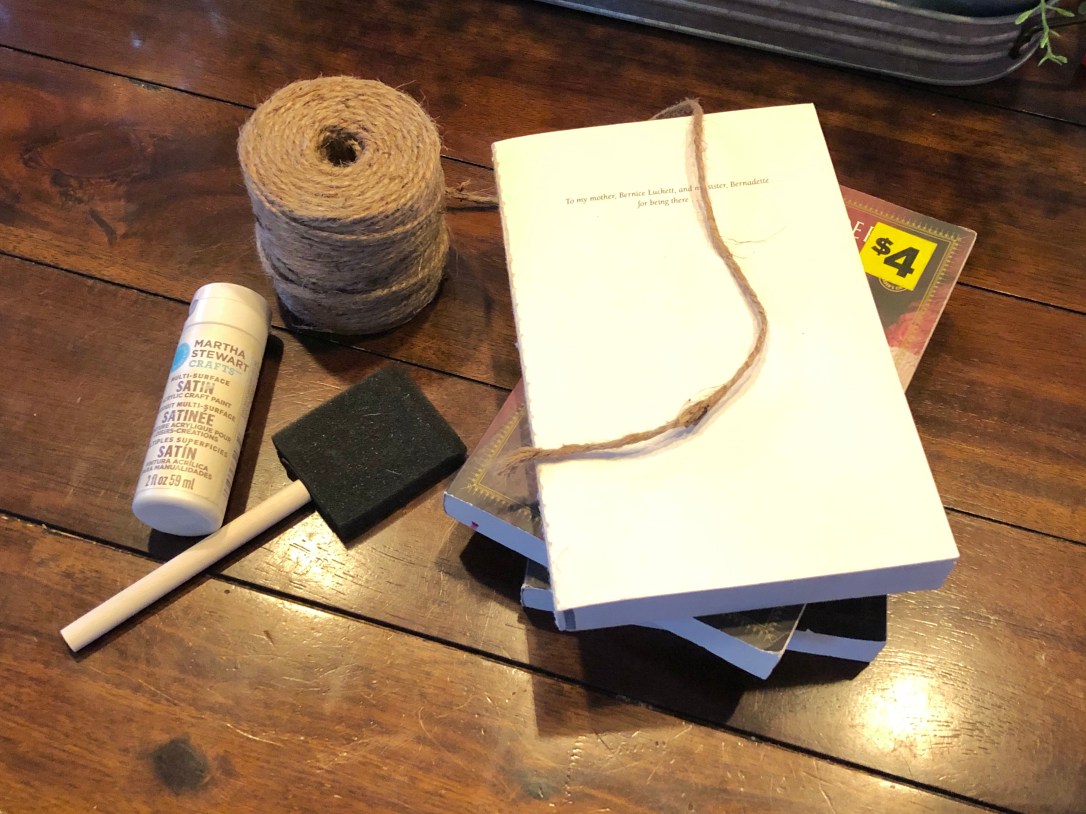
Supplies:
– 3 paperback books, all the same exact size and thickness – the dollar store is a great place to find inexpensive books!
– a paintbrush {I prefer foam brushes for most of my DIY projects}
– twine
– white or off-white acrylic craft paint {I used what I had on hand which was Martha Stewart Crafts in summer linen}

Start by tearing off the entire outside cover of each book, including the part over the binding. I also suggest tearing off any pages above the title page or dedication page, keeping attached whichever page has less text on it.
It should look like this:
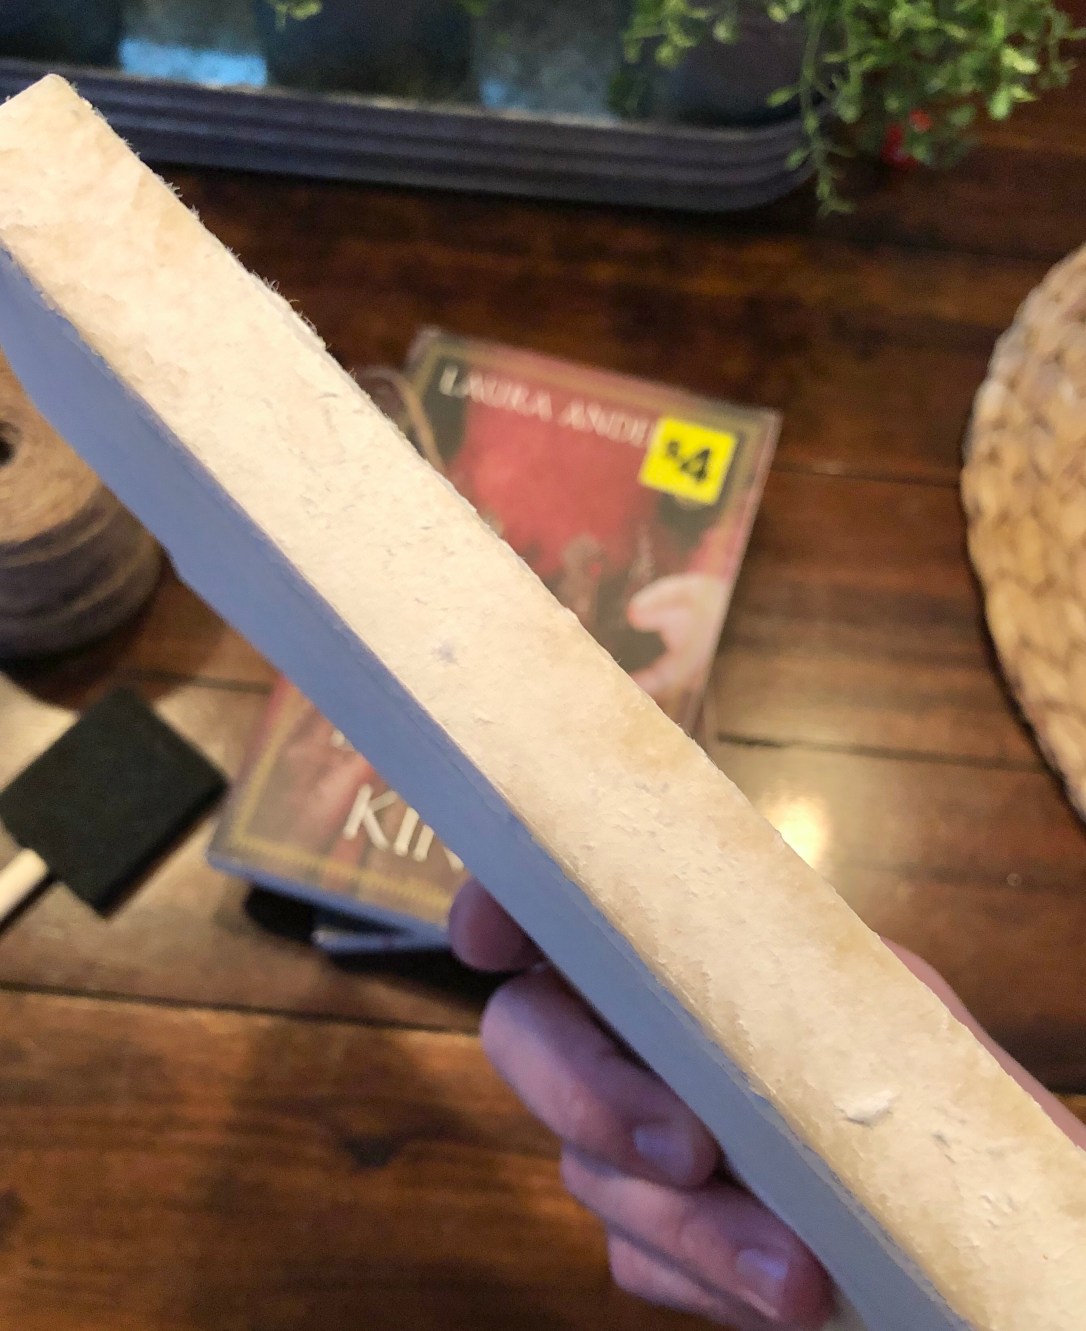
The roughness on the binding is a good thing so if you happen to have some, there’s no need to “clean it up”!
Next, I applied the first coat of paint to the top page, binding and sides {simply hold the book closed, get a very small amount of paint on your brush and run it over the sides of the pages a few times to cover evenly}.
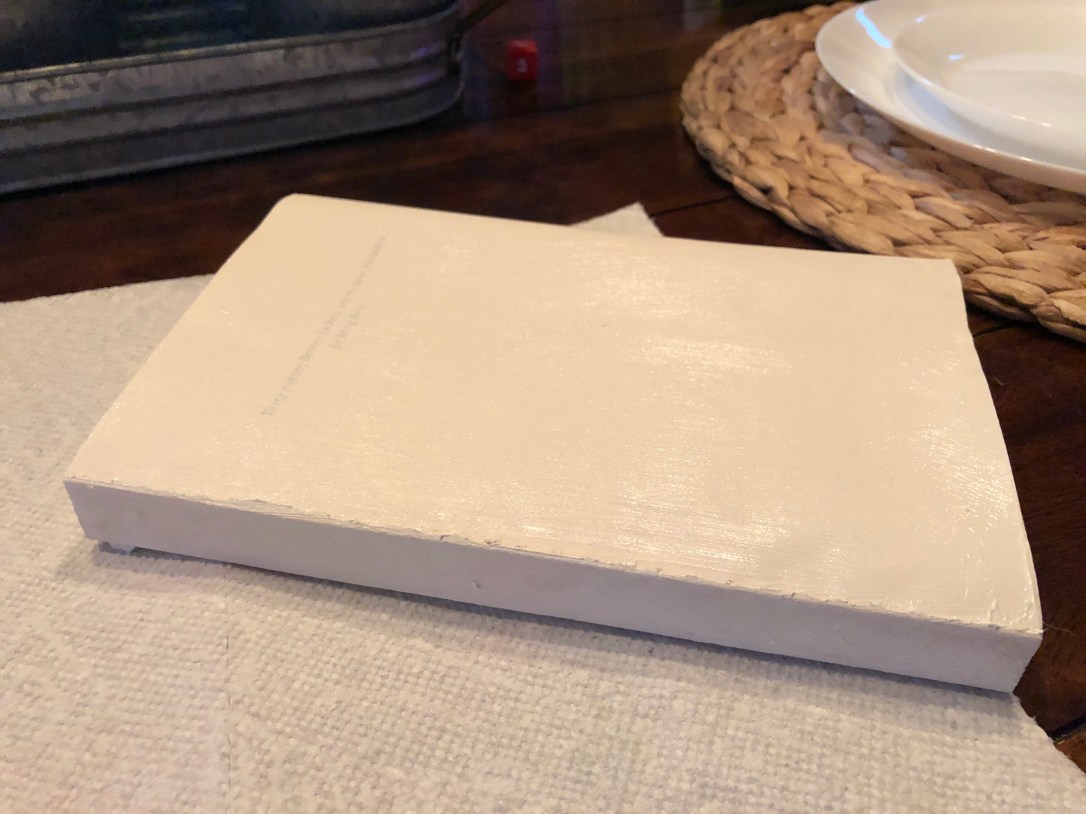
You’ll still be able to see the text through this first coat.
Once the first coat was dry {after about 10-20 minutes}, I applied a second coat ONLY over the visible text on the top page. I did this to each of my books but if you decide beforehand which one will be the top book in your stack, you really only need to apply this coat to that book.
Here is the difference..

The book on the right has the second coat applied and the book on the left does not. If necessary, wait until this coat is dry and then apply a third coat.
Next, check to see if you have any stubborn marks around the sides of your books and if so, apply one to two coats until covered. There was a red marker line along the side pages of one of my books {below} so I had to apply two additional coats over that small area.


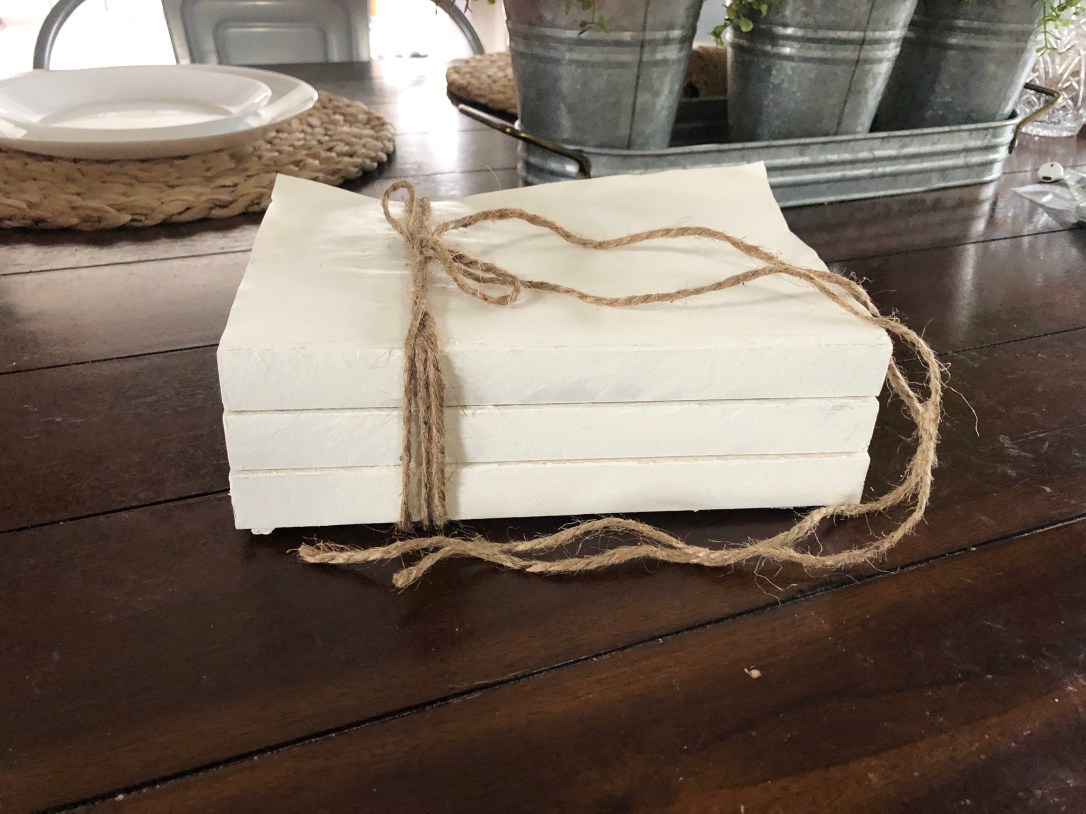
Once your books are completely dry, stack them up and grab your twine.
I wrapped twine around my books three times and then tied it off in a small bow with long tails. Then, I wrapped both tails around a pen and let them sit for about 15 minutes. This little trick gives the twine a whimsical look and it’s a great finishing touch!

As the paint dries, it may leave your pages looking a bit “messy”.. don’t panic! This look is exactly what gives this DIY project some character and makes it appear authentically vintage.. although we know better 😉
CUSTOMIZE: If you have letter stamps lying around – I can’t seem to find mine so I’ll update later if they turn up – you can add words on the binding of each book, such as:
Smith
family
est. 2007
–OR–
Home
Sweet
Home
–OR–
Bless
Our
Nest
Or even each family member’s name {one per book – may require more or fewer books}.
The possibilities are endless for customizing this project. Just have fun with it!

If you give this DIY project a try, let me know how it went for you!


This is so cute!! I need to make some for our fam!
LikeLiked by 1 person
Thank you! They were so much fun to make!
LikeLike